Are you always missing flights, or just barely getting to your gate on time? Sometimes airport busyness is out of your control. But there are some tips and tricks you can implement immediately to help you get through security and customs quickly, and never miss a flight again.
Pre-planning your departure and leaving on time
Before getting into the tips, be aware that planning your travel on the day-of requires understanding the factors and obstacles that can slow you down. Before even leaving your house, things like traffic, construction detours, and the availability of Ubers and taxis can significantly put you behind. If you’re leaving at 4AM, pre-booking your Uber can make sure you’re not waiting an extra 20 minutes to be picked up.
The other greatest thing you can do to leave on time is to have everything properly packed the night before. I have a whole blog post on how to prep for last-minute travel. The blog post is full of tips that I personally use all the time to streamline my packing and make sure I don’t forget anything when in a hurry.
Getting your travel details and paperwork organized
Let’s start with the tips that cost nothing. Be organized. If you tend to run late, chances are you’re a little on the disorganized side. Unfortunately, this could hurt you as you navigate airport checkpoints. To me, being organized includes:
- Knowing the exact flight number, time, airline, terminal number, and gate, if that info is available already.
- Downloading the airline app and Turing on flight notifications can help you keep track of gate changes and delays in the hours leading up to your flight.
- Having all the requirements for travel including VISAs, Electronic Transit Authorizations, Covid tests, and proof of vaccination.
Before Covid-19 entered our lives, I was fully digital, and never printed boarding passes or anything. Now, I feel like I need one of those plastic sleeves kids wear around their necks to hold their passport and documents. Between the Covid tests and the vaccination cards, having all your paperwork ready to show will make it all so much easier.
Fly at strategic and less busy times
When it comes to airport busyness, some things can be predicted: holidays, business travel rush hour, weekend rush. Then, there are some you can’t, like a whole middle school basketball team going through security at the same time as you.
Early-morning flights are usually pretty efficient because they are filled with business and frequent flyers who are generally more experienced. However, avoid flying on Friday or Sunday evenings between 4 and 8 p.m., when it’s a mix of business travellers returning home from their workweeks, and leisure travellers coming to and from weekend getaways.
Monitor security wait times


Keep an eye on wait times, online! MiFlight, App in the Air, Kayak, and MyTSA are a few apps that allow you to monitor the status of the queue several hours before your scheduled departure time. These help you to make a more informed decision about when to arrive. This information is also available on many airport websites, especially the ones with multiple TSA checkpoints.
Even as you’re arriving at the airport, if there are several TSA checkpoints and you’re already checked in, it might be possible to ask to get dropped off at the door closest to the checkpoint with the shortest queue.
Some airports include the option to make an appointment to go through security. This is something I learned from a full-time digital nomad.
Follow the rules
Another tip that costs nothing: cooperate with airport staff and follow the instructions.
Unless you’re using a PreCheck lane, remember to take your laptop out of its case and place it in its own bin. Make sure any liquids in your carry-on bag are put in a clear plastic bag. Before passing through the security line, throw out any liquid-filled plastic bottles and ensure your reusable bottle is empty. If your bag contains a bottle containing liquid, it will need to be re-screened, which will take a long time.
Some airports have plenty of security staff to usher your goods through the conveyor belt scanners, but others require you to push your stuff all the way through. Make sure you know what’s expected of you so you don’t hold up the line by not moving your bins along.
Finally, as soon as you’ve passed through the metal detectors and body scanners, immediately collect your items off the belt and reassemble yourself away from the screening area. The faster you remove your goods, the faster the rest of the line can move.
Be polite
Being polite and friendly at the airport can really pay off. A TSA agent may send you through the priority line if you’re running late for your flight or if you’re travelling with small children and need assistance. It doesn’t hurt to ask!
It doesn’t cost you to be friendly, even if some TSA employees aren’t the nicest. Have some empathy because they have a difficult job that is made even more difficult by increasing crowds and a shortage of staff.
Also, when they ask you to have your documentation ready, make sure you’re paying attention. Between Covid tests, vaccination cards, boarding passes and passports, there’s plenty more paperwork to handle and check at security checkpoints. Like I said before, you can make everyone’s lives easier by having those ready to take out quickly.
Dress strategically for security checkpoints
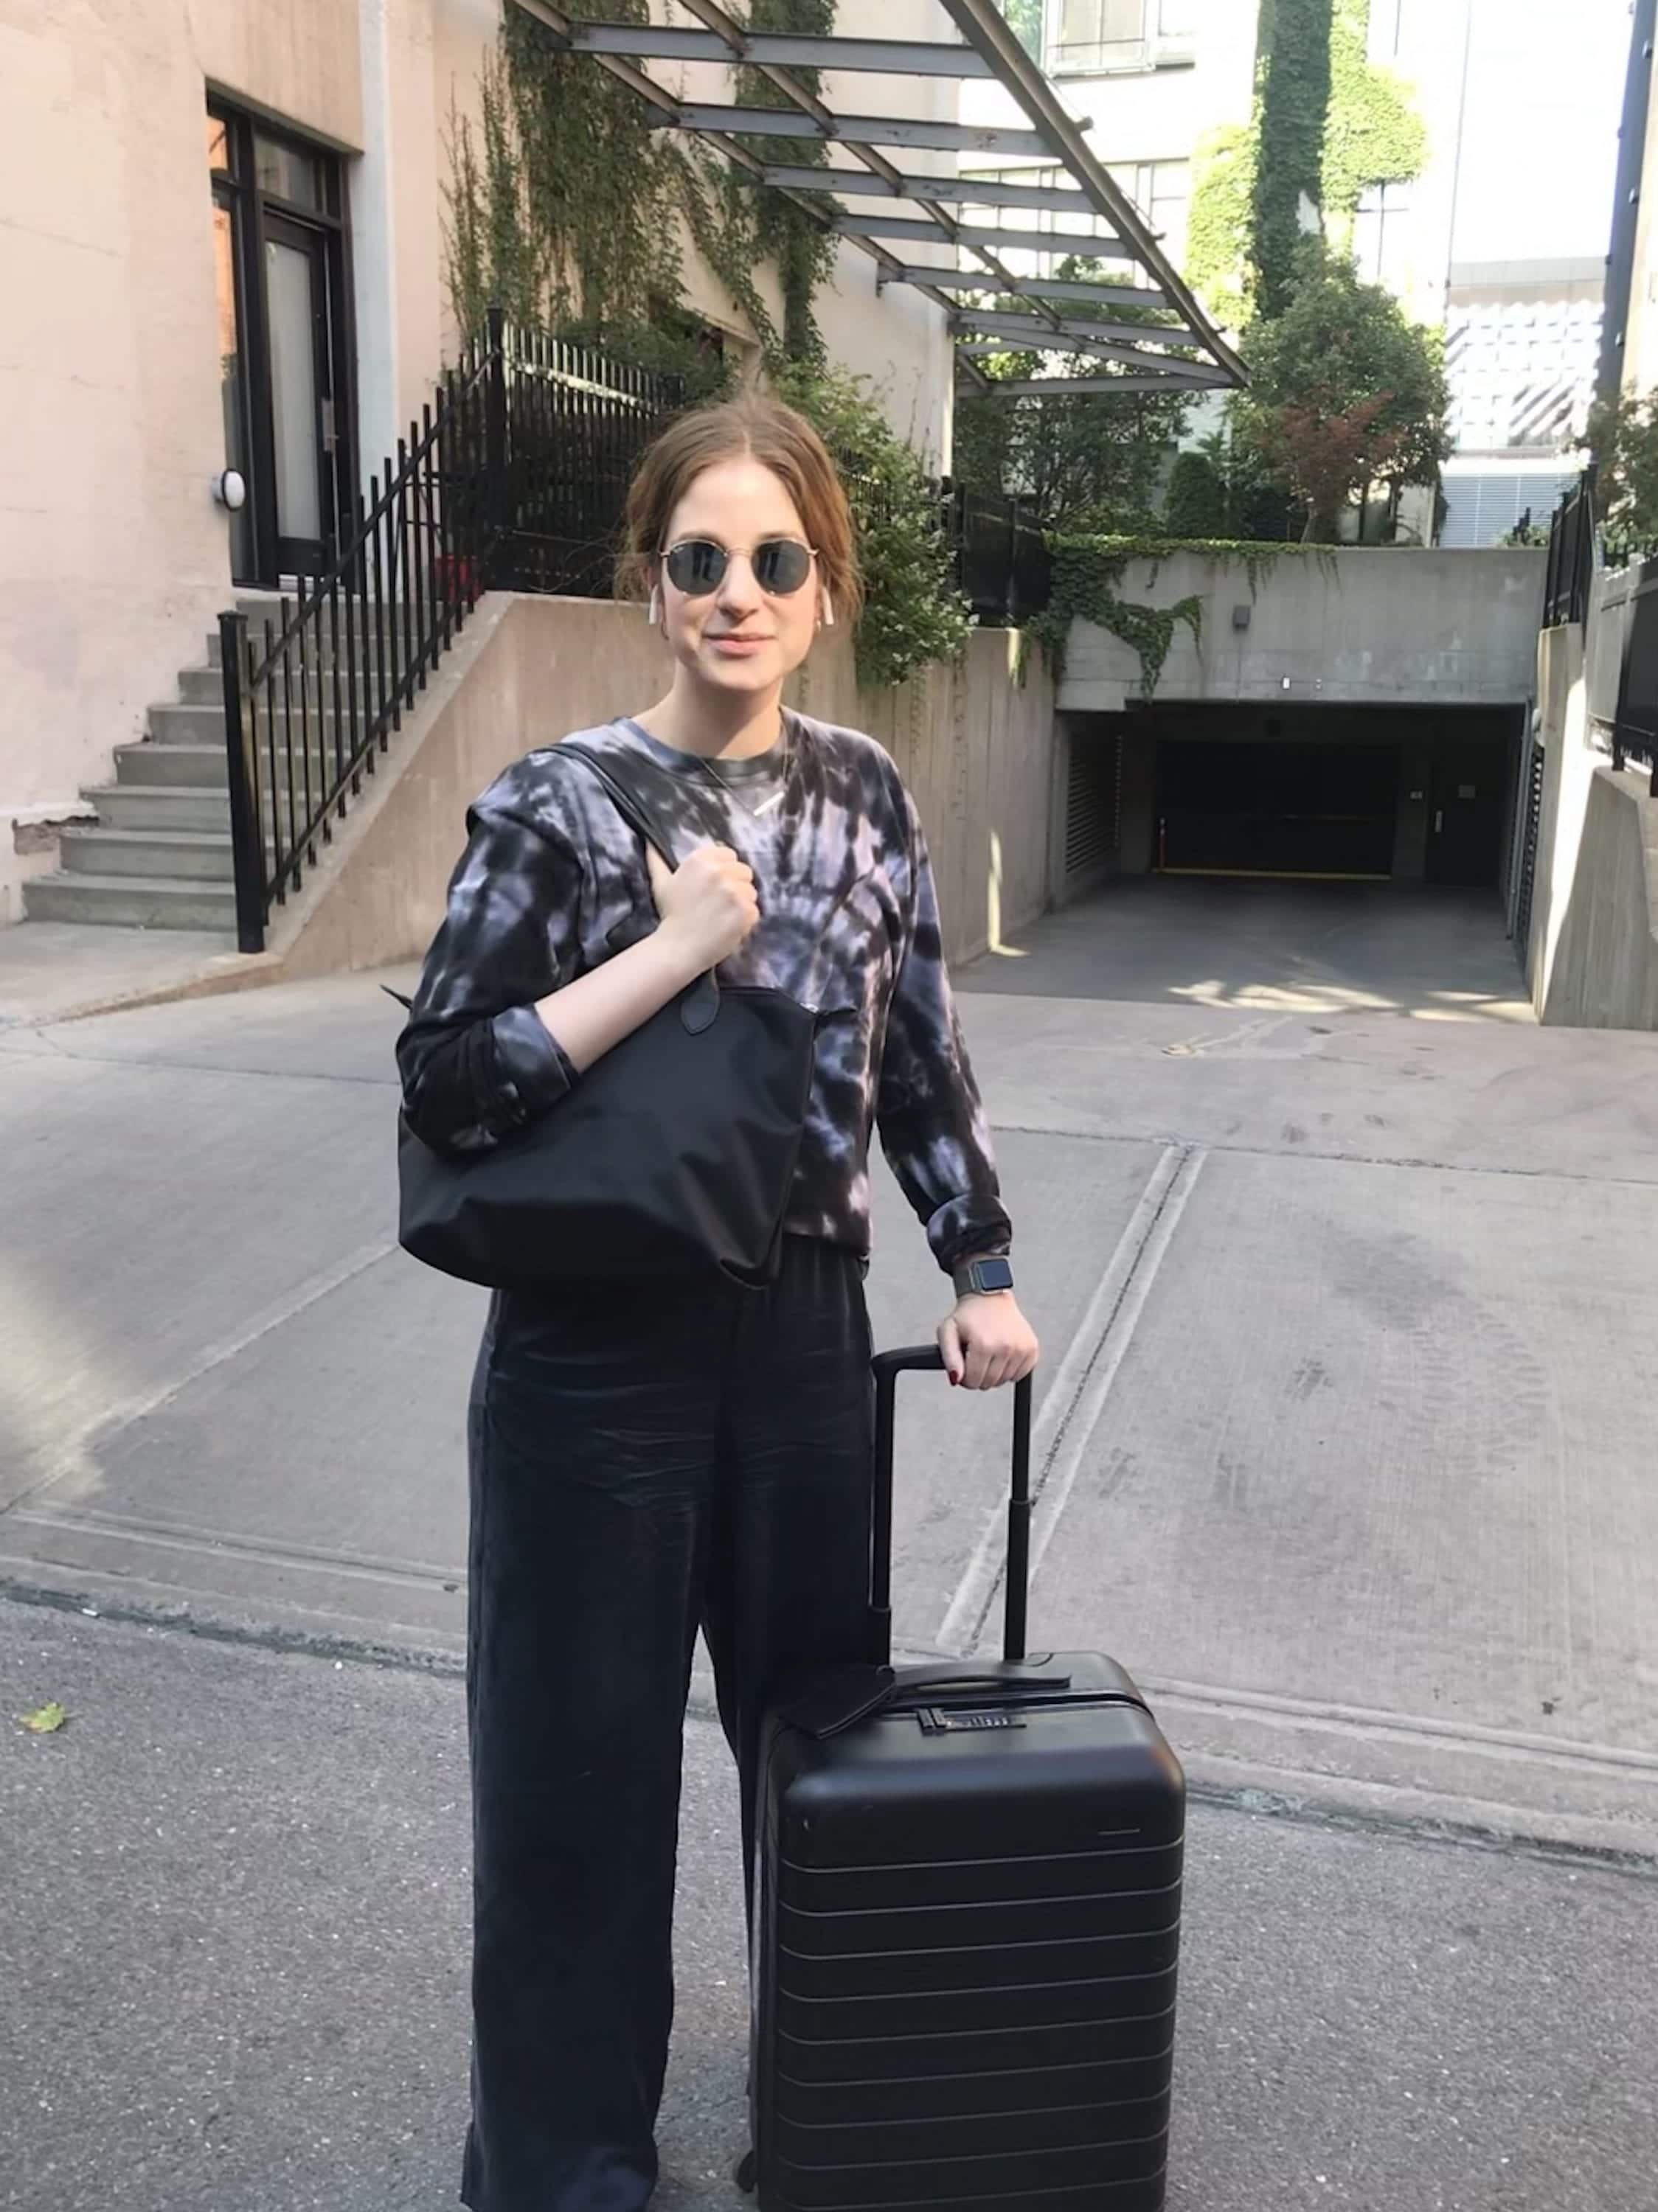
When going through security, you want to be as unremarkable as possible. Keep jewels, belts, cell phones, and other large metal items stowed away in your carry-on. Before you put your jacket through the X-ray, place things like jewellery and keys in the pockets so you can re-assemble your things at your gate rather than in front of that plastic tray in a hurry.
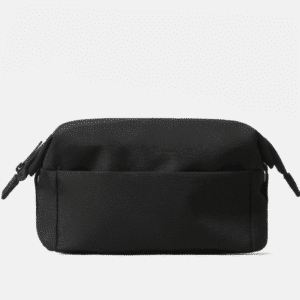
Better still, use packing pouches and bags to organize your small items before you go through security, so you don’t have to remove all of them in a rush and can finish putting them back on at your gate.
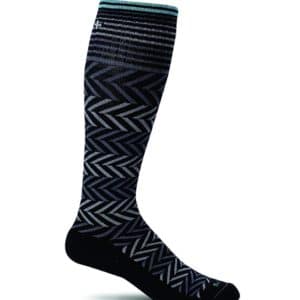
Most airports still need you to remove your shoes to pass through metal detectors, so leave your sandals at home and go for shoes with socks. It’s not only more sanitary but also safer for you and, everyone around you. Socks are also useful while boarding a plane and those freezing in-flight cabin temperatures. I prefer compression socks and have a full post on picking the best compression socks for travel.
Join a priority screening program
Alright, moving on to tips that require a bit of cash and preparation, starting with priority screening programs.
TSA PreCheck
In the United States, the TSA’s PreCheck program is the cheapest priority program to speed up your airport trip. Travellers apply in person at an application centre, where you must present the necessary information, paperwork, and fingerprints. In addition, you’ll need an unexpired US government-issued picture identification and proof of citizenship, such as a passport or a driver’s license and birth certificate, to qualify for TSA PreCheck.
Once you’ve been accepted, you’ll be given a designated known traveller number, which you can use to book domestic flights. When flying from a domestic airport, it will display on your boarding pass and allow you to queue for expedited screening. At the time of filming this, TSA PreCheck costs $85 USD for a five-year application.
Global Entry
Global Entry is a step above that, as it offers expedited customs screening for international air travellers entering the United States and is valid for five years. In addition, because Global Entry members also get TSA PreCheck as part of their membership, it’s a no-brainer for many foreign visitors to apply for Global Entry and obtain both for only $15 more than TSA PreCheck alone. In Canada, Global Entry is called Nexus, and it’s a program that goes both ways for Canada-US borders. So if you’re a Canadian, get a Nexus pass and you’ll get all the perks of Global Entry and TSA PreCheck when in the USA. This is personally my favourite hack since it’s saved me hours over the past 3 years.
Many travel-focused or premium credit cards offer discounts that can be used to cover the cost of TSA PreCheck or Global Entry applications, which is how I avoided the $100 price.
Clear
Clear is a program that allows passengers to bypass security lines at more than 50 major airports and some sports stadiums. TSA does not run this program; instead, Alclear LLC, a private, publicly-traded company, does.
Clear members may go straight to the front of security lines in major airports by scanning their iris and boarding passes – a completely touchless process. Clear avoids the need for traditional documentation by relying on your eyes and face to confirm your identity. It converts these biometrics into an encrypted code unique to you and can be used for check-in validation.
Begin by going online or downloading the Clear mobile app. It should only take about five minutes to complete the process at any of the participating airport locations. You’ll then skip to the front of the regular security line or, if you have PreCheck, the front of the PreCheck queue.
Mobile Passport
Airside Mobile, a private company headed by former TSA personnel, has created a free app called Mobile Passport. It’s available on Apple iOS and also on Google Android, and it lets you use a separate, faster passport control line when visiting certain airports and ports. Rather than waiting in line to prove to a person, machine, or both that you are who you say you are, you use this app to send your information and a selfie to Customs and Border Protection. CPB will authorize you again to use the app and provide you with a QR code receipt to present on your phone, allowing you to bypass passport control by using a special lane.
Mobile Passport is now available at 27 airports and four cruise ship ports throughout the United States. With a few exceptions, such as Washington Dulles, LaGuardia, and Detroit at the time of recording this video, that is pretty much all of the busiest international airports in the US. Although the software is not difficult to use, you should download it ahead of time. I’ve rarely been in a passport control zone with a robust Wi-Fi or cell data signal anywhere in the world. Because the free version of the program only saves your information for four hours and lacks a document scanner, you’ll have to enter your information each time you travel manually. The premium version, Mobile Passport Plus, costs $15 per year if you travel frequently.

Get airline status
The next series of tips focus on the perks of airline status.
Airline elite status is one of the fastest ways to get expedited security checkpoint access. For example, Southwest Airlines A-List and A-List Preferred members can use the Fly By Priority airport security checkpoint to get through security faster. This benefit is frequently — but not always — given to any companions going with the elite member, so it’s worth attempting to bring them along.
Don’t worry if you don’t have elite status with any airline yet; achieving it can be simple (and easy)—several airlines co-branded credit cards to provide elite status through sign-up bonuses.
Even the lowest status at airlines like Air Canada gives you priority access to the baggage check-in counters, which has saved me so much time in the past. It also means your bags are first off the plane, which, when in a hurry getting out of the airport, is a major perk too.
Check a bag to carry less through security
The next tip is a bit counterintuitive, but sometimes it’s a time-saver to check your bag
If you’ve checked in in advance and prep-paid any luggage fees, usually checking a bag can be pretty quick. Then, you have even less to carry through security. And fewer items to scan usually means you can be quicker through TSA. But take this tip with the warning that lines to check-in bags can be quite long, and cut-off times for checked bags are usually 1-2 hours before your flight if you’re travelling internationally.
Fly First Class
Ok, last tip. We live in a capitalistic world, so this list would be incomplete without the ultimate time-saver…Travelling in first class
Flying in first or business class not only gives you a better in-flight experience, but for most airlines, it gives you priority baggage check-in, preferential access to shorter airport security queues, and priority boarding. Think of it like the ultimate Disney Park fast pass. Do keep in mind though that if you don’t have Global Entry or something similar, customs and border control can still take a long time, no matter how rich you are.
And that’s it friends! Remember these tips next time you’re planning a trip and don’t get discouraged if you get to the airport and it’s busy. There are plenty of hacks to get you through quick!
Happy travels xox


