Want to create a travel blog just like this one? Whether it’s just a place to share photos with family and friends or if you plan to monetize your blog in the future, the first step to launching a blog is learning how! Keep reading for my 5 simple steps to building a blog.
Choose a platform for your travel blog
The first step is to choose where you want to host your blog. There are two major categories in the world of web hosting: website builders and self-hosted. Website builders are when you pay a monthly subscription fee to a company like Weebly, Squarespace, or WordPress.com, to build a site on their platform, using their tools.
The other way is to use open-source software like WordPress or a site coded yourself, and choose a hosting company, like Devrims, where I just published an interview, and upload your site there. The pros of the website builder are the convenience and all-in-one billing for the domain name and hosting, and sometimes email.
The cons are that if you want to move your site away from that company or add on features they don’t offer, you’re stuck with them. With open-source, it’s a bit more work at the start, but you own your content and can move your site to wherever you want to host it as your needs and traffic grow.
If you’re self-hosting, you can add loads of third-party features to your site. To add them, it’s a little bit like adding apps to your phone. There are companies that provide apps for free and others that cost money, and sometimes it’s worth spending the money to get something that works better.
All my sites are built with WordPress, the open-source software, which is different than WordPress.com, the private product. You can install WordPress in your account for free after you sign up for a paid hosting account with the host of your choice.
Bluehost is a very common shared hosting provider, with competitive rates for first-time website owners. Kinsta is my pick for top-tier cloud hosting, with some of the fastest load times on the market. I’ve been an employee at Kinsta since January 2020 and although a bit pricey for beginners, they deliver great results.
If you’re curious to learn more about the different web services online and how to build a WordPress site, go to andreazoellner.com/courses, for free courses!
Pick a name and claim it across the web
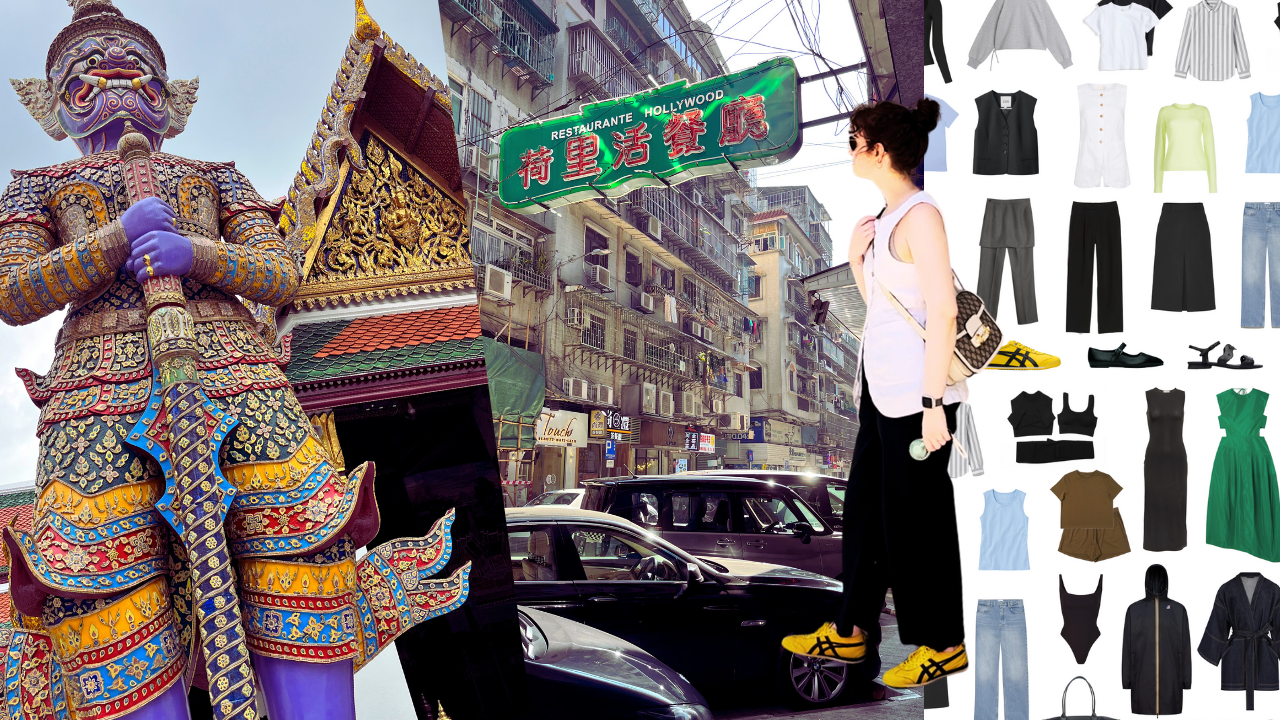
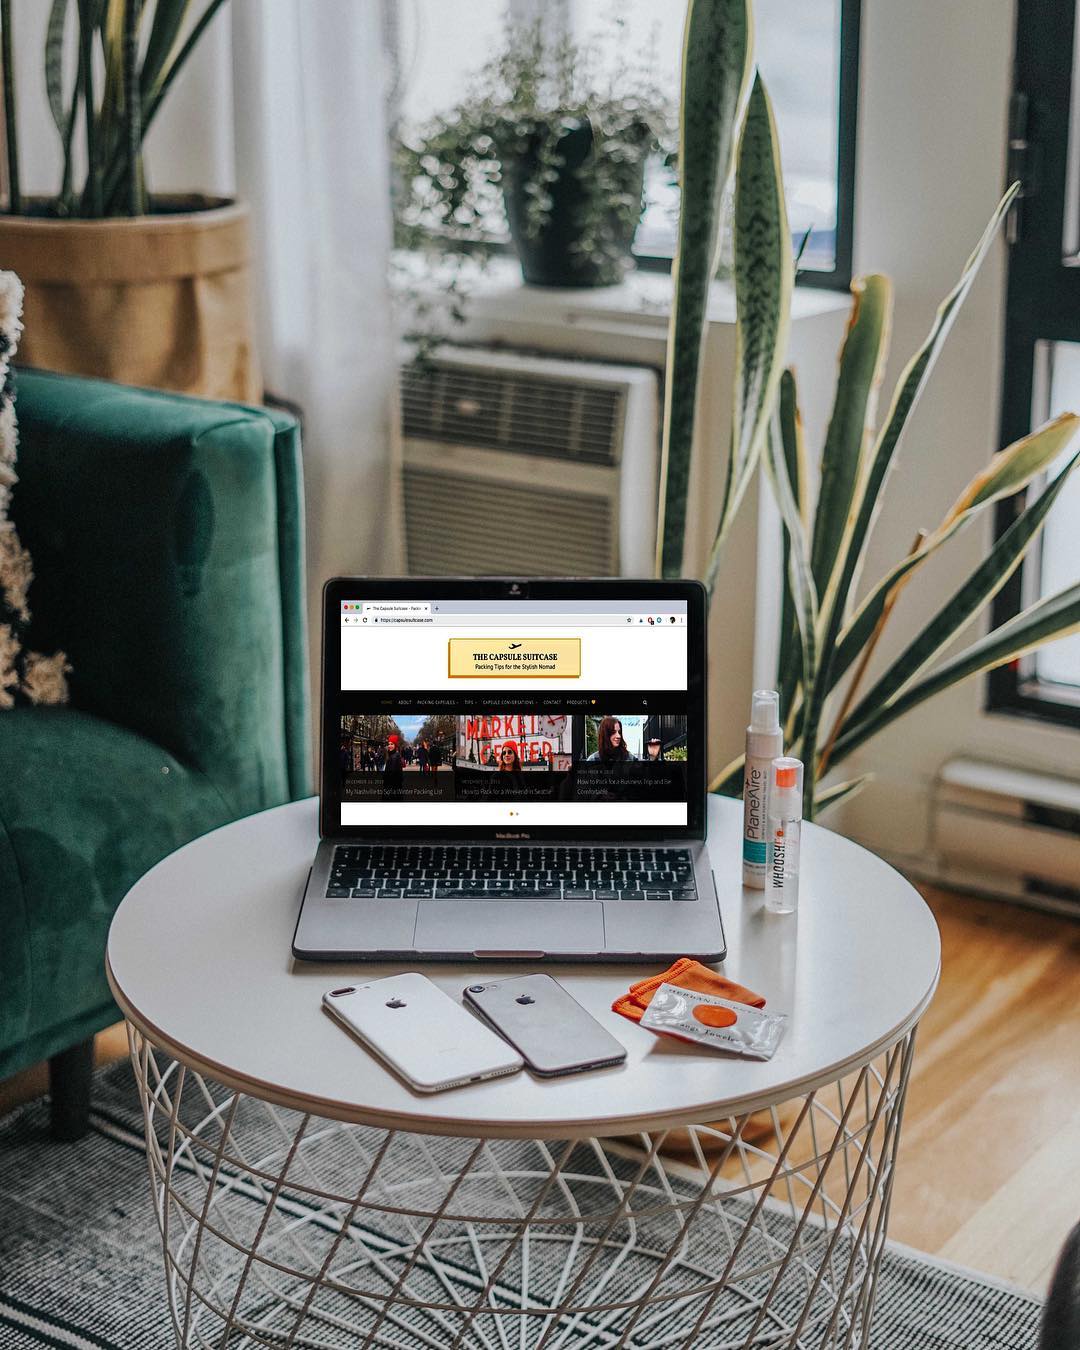
Building your website is one thing, but you need a domain name to make it accessible on the web. This name should be your blog name and you should do your best to claim this name across all social media platforms. The Capsule Suitcase came to be at the height of the capsule wardrobe trend back in 2016 and I felt like it embodied the lightweight travel I was trying to share. So I purchase capsulesuitcase.com, got the handle on Instagram, Facebook, and then later, on YouTube. Don’t forget to keep your domain name renewed every year, so it doesn’t lapse and get bought by someone else.
Because Kinsta doesn’t have email hosting or domain registration, I like to use a website called Hover to register my domains. If you’ve chosen a hosting provider that offers domains, email, or both with your hosting bundle, you’ll want to use their service since you’ve already paid for it.
Not sure what to call your blog? Take your time, grab a piece of paper and start writing down words to see what feels right. Take your final few options and play around with them in different fonts to help choose your final blog name. Or, you can always call your blog by your own name, and just reserve your full name.com.
Work on your photography skills or find a photographer
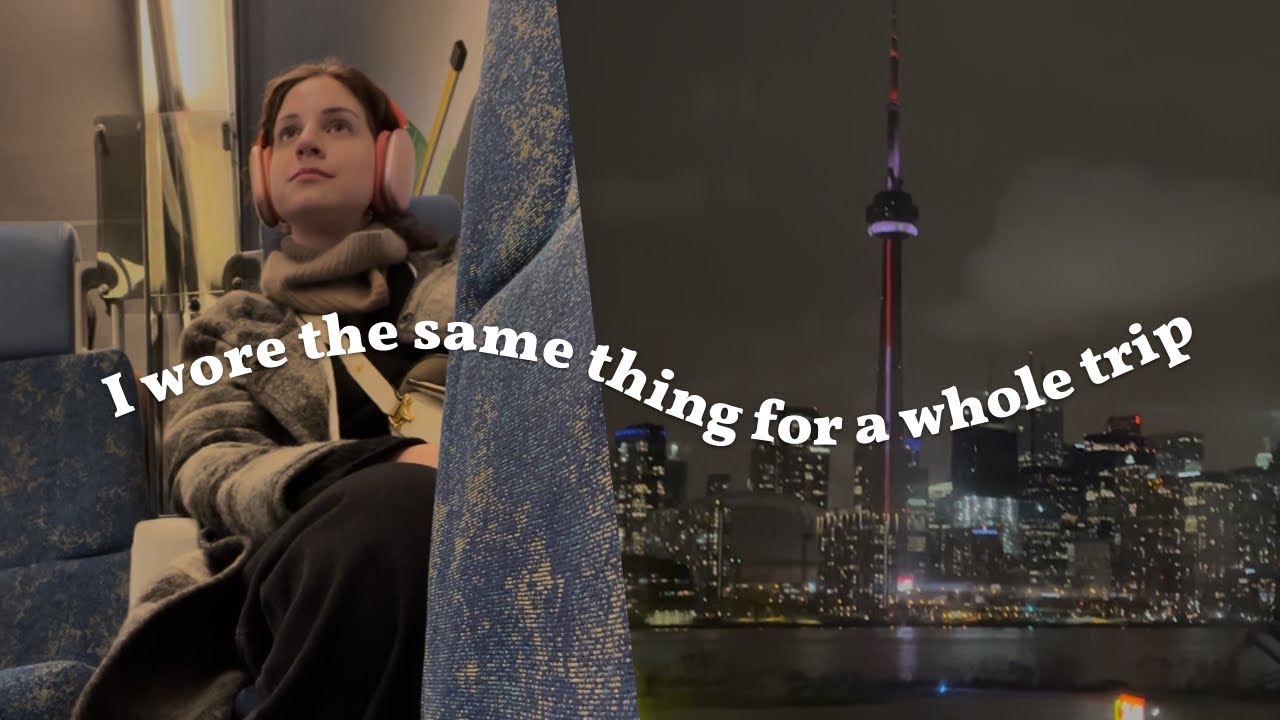
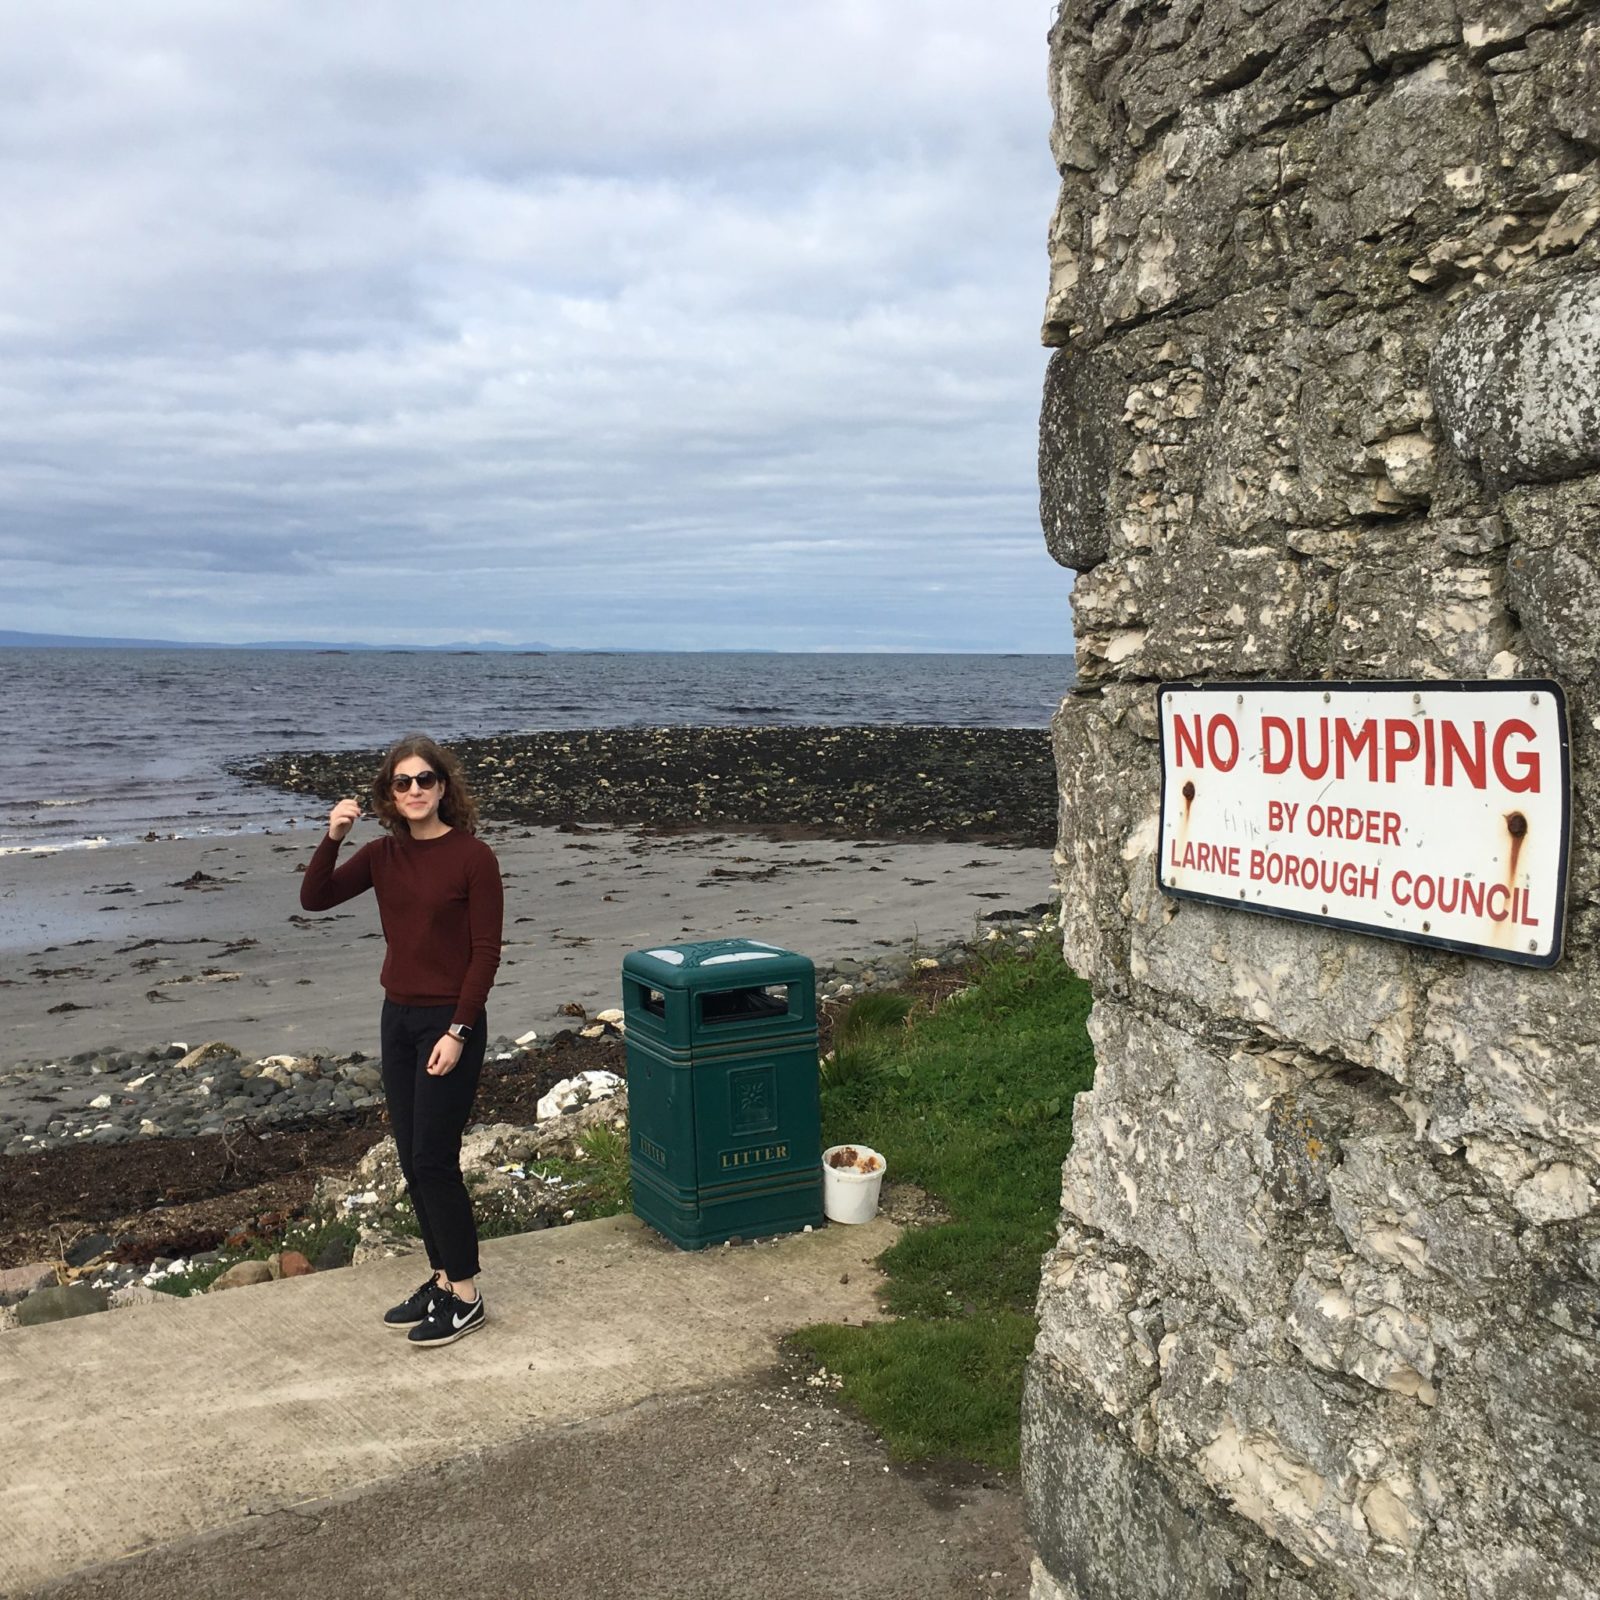
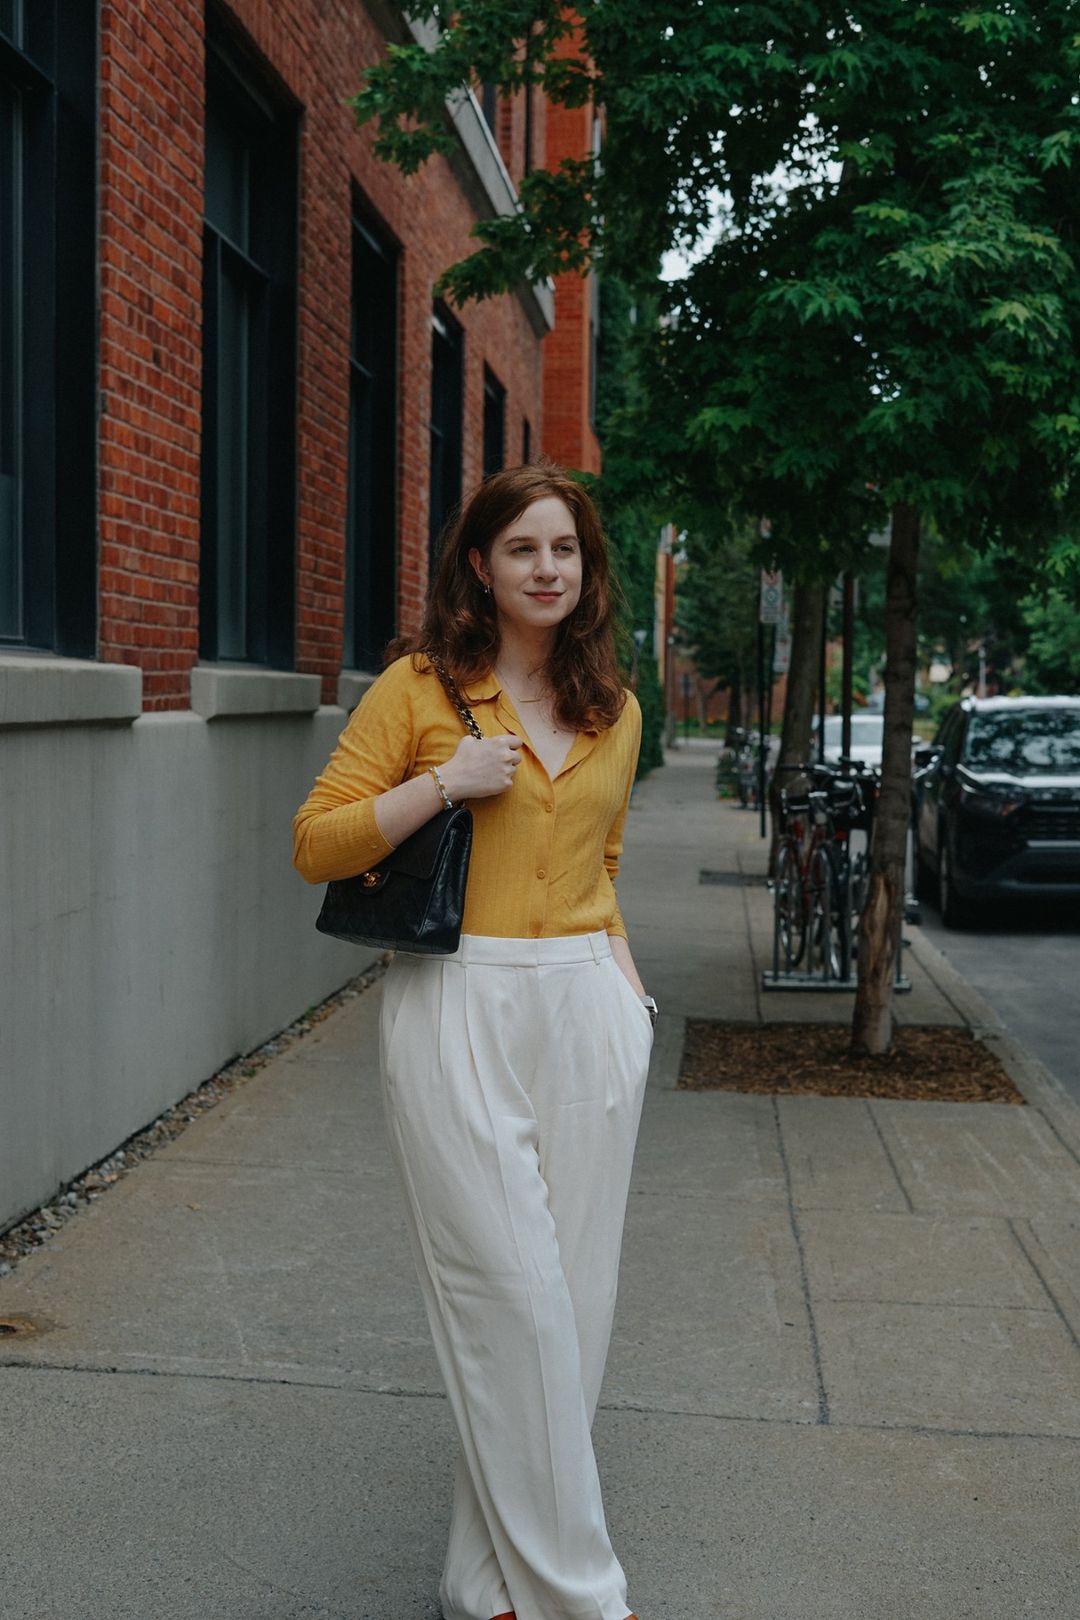
So much of storytelling is writing, but we cannot forget the power of photography. Especially if you plan on promoting your blog on Instagram. You don’t need a good camera to have good photos. Practicing your photography skills and learning new ways to capture movement and work with a variety of lighting can go a long way. Don’t forget to be in your photos from time to time! If you need to, get a tripod and a remote for your phone or camera, so you can take selfies that feel natural. One tip I recommend is to find a style and photo editing preset that you can continue to use to develop a visual signature for your blog and Instagram.
Build your travel blog
Now the hard, but really fun part: building your website. If you’re using a website builder, they probably provide some templates and website themes for you to choose from. Find the ones designed for blogs and find a style you like. Most often, you can switch between a few before deciding, and make changes like customizing your font and colours.
A few things I’d recommend having on your site are:
- comments turned on,
- sharing buttons so people can save and share your posts,
- a way to contact you,
- an about page,
- links to your social accounts.
In my course on How to Create a Blog, I walk you through how to set up all the necessary elements of your blog, with 10 video lessons you can refer back to.
Create content on your travel blog
Next, start writing! If you’re using WordPress, you can install a tool for Search Engine Optimization, or SEO. This will help your content rank better on Google, so people can find and follow your blog. Follow the principles of SEO like using keywords, and structuring your content with paragraphs and paragraph headers and over time, you should build a site that shows up in searches.
When you upload a photo to your blog post, make sure it’s not too big. High-quality photos are great, but if they are too large and the file is too heavy, it will slow down your site and make it hard for people to access it on their mobile devices or on slower wifi. Stay consistent and post often since this will be your best strategy to fill up that blog!